

How to critique fragrance blends: a practical checklist
TL;DR:
- Testing fragrances against a written brief with coded samples ensures reliable evaluation and reduces bias. Practicing structured blind testing and detailed scoring helps build a calibrated nose and improves formulation decisions. Human sensory analysis remains essential in perfumery despite advances in analytical instruments.
The most reliable way to critique a fragrance blend is to test it against a written brief using coded, blind samples and timed checkpoints recorded on a repeatable checklist. Start with a written brief and consistent checklist before you open a single vial. Without a defined goal, you cannot judge whether a blend succeeds or fails.
Quick-start checklist (copy this before your next session):
- Top notes (0–15 min): brightness, clarity, off-notes
- Heart transition (15–60 min): smoothness, balance, any harsh edges
- Base/dry-down (1–6 h): depth, cohesion, longevity
- Sillage/projection (1 h): how far it carries, shape of the trail
- Off-notes: chemical, synthetic, or discordant impressions at any stage
- Brief match: does the final dry-down reflect the intended mood and audience?
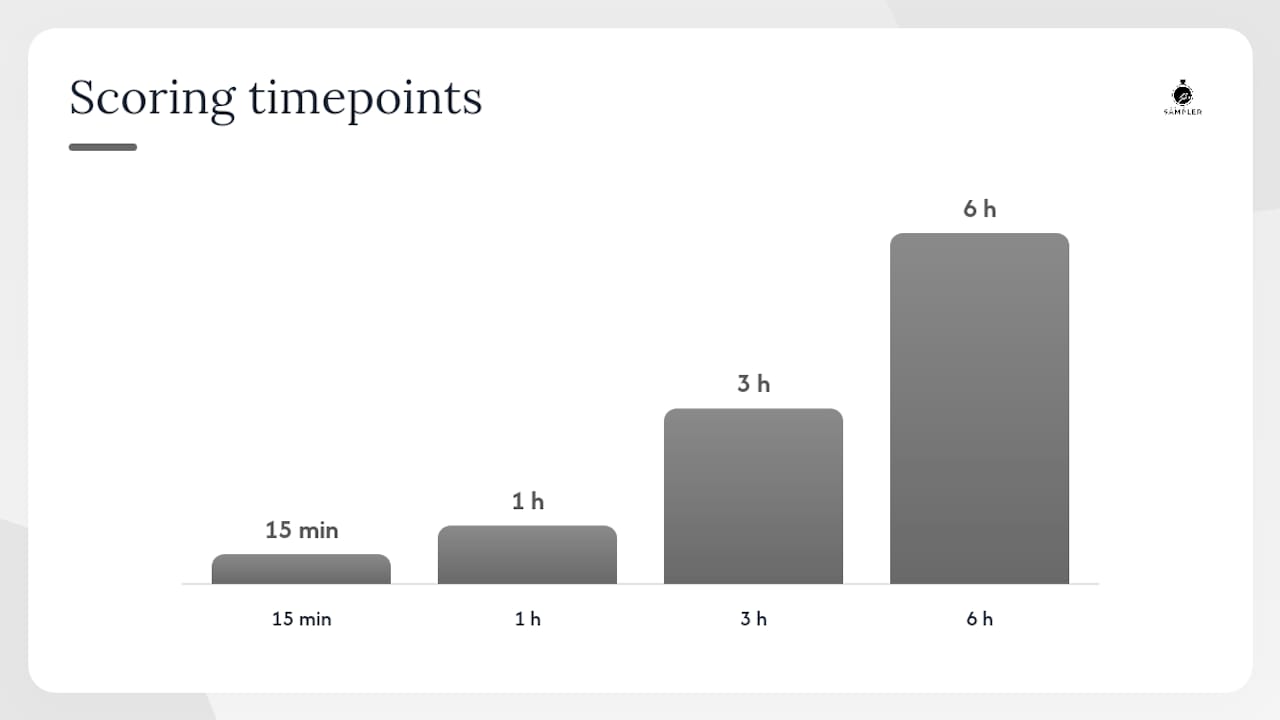
If you have only a blotter or a 2ml decant, spray or dip once, note the immediate impression in writing, then set a timer. Return at 15 minutes, 1 hour, and 3 hours. Three time points from a single small sample give you more usable data than ten unstructured sniffs.
Table of Contents
- What kit and sample preparation do you need before you start?
- Which sensory tests should you run and when?
- How to run a critique session from brief to conclusion
- How to describe scents clearly and collect useful feedback
- Common mistakes that make fragrance feedback useless
- How to run blind trials with decants and practise with a scoring template
- Key takeaways
- The skill of evaluation takes longer to build than the skill of blending
- Practise your critique skills with Theperfumesampler decants
- Useful sources and further reading
What kit and sample preparation do you need before you start?
Good critique begins before you smell anything. Inconsistent presentation is the single biggest source of false results in home testing, so getting the setup right matters.
Essential kit:
- Blotters (unscented, professional-grade strips)
- Perfumer’s alcohol (for dilutions and carrier consistency)
- Pipettes or droppers (one per sample)
- Coded labels (numbers or letters, not fragrance names)
- Stopwatch or phone timer
- Scoring sheet or notepad
- Unscented tissue for nose resets
- Small spray vials or decants for skin tests
Preparing and presenting samples
Dilute raw materials to 10–20% in perfumer’s alcohol before testing on blotters. Smelling neat materials overwhelms the nose and gives a distorted impression of how the blend will actually behave. For finished blends being compared side by side, use the same concentration and the same carrier for every sample. Any difference in dilution or base introduces a variable that has nothing to do with the formula itself.
Code every sample with a number or neutral letter before the session begins. Hand coded samples to testers without revealing which formula is which. This blind setup removes the single most common source of bias: knowing what you are smelling before you smell it. Consistent blotters, concentration, and carrier are the foundation of any comparison that produces trustworthy results.
Environmental controls
Test in a quiet, odour-free room. Wear unscented clothing and avoid applying any fragrance on the day of testing. Consistent temperature and humidity reduce variation in how top notes evaporate, which matters most in the first 15 minutes.
Pro Tip: Coffee grounds do not reset your nose. The most effective method is to step outside for two minutes of neutral air, or to sniff the inside of your wrist (your own skin, unscented). Short breaks of three to five minutes between samples are more reliable than any prop.
Which sensory tests should you run and when?
Choosing the right test method depends on what question you are trying to answer. Three main approaches cover most hobbyist and small-panel needs.
Blotter, skin, and finished-product tests
- Blotter: Fast, controlled, repeatable. Best for comparing multiple formulas side by side and tracking evolution without skin-chemistry variables. Longevity readings on blotter will differ from skin, so treat them as relative, not absolute.
- Skin test: The definitive performance test. Skin pH, temperature, and moisture all affect how a blend develops. Always run at least one skin test before drawing conclusions about longevity or sillage. Apply to the inner wrist or forearm and avoid rubbing.
- Finished-product test (wax melt, soap, diffuser): Relevant when the blend is destined for a specific application. Practical blotter and dilution techniques from craft guides are a useful starting point, but finished-product tests require the same consistency rules: same wax type, same wick, same fragrance load percentage across all samples.
Discrimination tests for small panels
Discriminative tests vary in complexity and statistical power. The table below summarises the main options for hobbyists and small panels.
| Test | How it works | Best for | Panel size (minimum) |
|---|---|---|---|
| 2-AFC | Tester chooses which of two samples has more of a target attribute | Novice panels; simple intensity comparisons | 20+ |
| Triangular (ISO 4120) | Tester identifies the odd sample from three | Industry standard; detecting differences | — |
| Tetrad | Tester groups four samples into two matching pairs | More statistical power than triangular | 20+ |
| 3-AFC | Tester identifies which of three samples has the target attribute | Directional difference testing | 20+ |
| Duo-trio | Tester matches one sample to a reference from two options | Useful when a reference standard exists | 20+ |
For hobbyists working alone or with a small group, the 2-AFC format is the most practical starting point. It reduces cognitive load and produces reliable results with fewer panellists. The triangular test, covered by ISO 4120, is the industry standard for formal panels but requires tighter control and a larger group to reach statistical significance.
Controlling presentation order and avoiding habituation:
- Rotate sample presentation order across panellists (A-B-C, B-C-A, C-A-B).
- Allow a minimum inter-stimulus interval of 30 seconds between samples on blotter; 2–3 minutes for skin tests.
- Limit sessions to five or six samples maximum before scheduling a break.
Analytical instruments such as GC and GC-O can support sensory panels but do not replace them. Product development in perfumery remains driven by human sensory assessment.
How to run a critique session from brief to conclusion
A structured session produces usable data. Here is a timed workflow you can follow the first time.
Step 1: Write a brief (10 minutes before the session)
Define the target audience, intended mood, strength (light/moderate/intense), and use case (daytime wear, evening, home fragrance). A brief of three to five sentences is enough. Creating a perfume brief before testing gives you an objective standard against which every score becomes meaningful.
Step 2: Prepare coded samples (15 minutes)
Dilute to working concentration, apply to blotters or vials, label with codes only. Lay out scoring sheets with time columns pre-filled.
Step 3: Familiarisation round (5 minutes)
Allow testers to smell each sample once without scoring. This reduces novelty bias and primes the nose for the evaluation rounds.
Step 4: Round 1, immediate impressions (0–15 minutes)
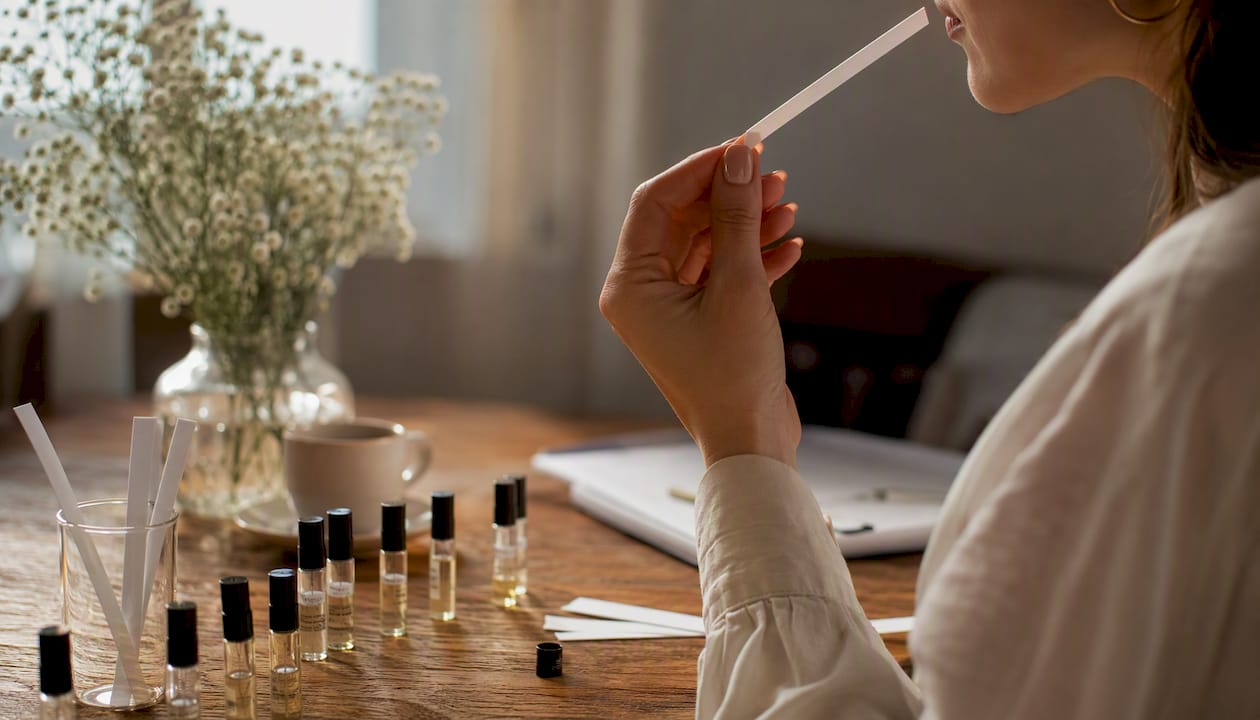
Score top notes: brightness, clarity, any off-notes. Record descriptors and numeric scores on the sheet.
Step 5: Round 2, heart and dry-down (15 minutes to 1 hour)
Return to samples at 15 minutes and again at 1 hour. Score the transition, balance, and sillage. Note any changes from the initial impression.
Step 6: Longevity check and consolidation (3–6 hours)
Return at 3 hours and 6 hours for the final longevity and base assessment. Consolidate all scores and compare against the brief.
| Session stage | Time | Focus |
|---|---|---|
| Brief writing | T-10 min | Define goal, audience, use case |
| Sample prep | T-15 min | Dilute, code, lay out sheets |
| Familiarisation | 0 min | One pass, no scoring |
| Round 1 | 0–15 min | Top notes, off-notes |
| Round 2 | 15 min–1 h | Heart, transition, sillage |
| Longevity check | 3–6 h | Base, cohesion, brief match |
Analysing results and deciding what to change
Set a pass threshold before the session, for example a minimum average score of 3.5/5 across all criteria. Blends that score below threshold on longevity typically need a heavier base or a fixative adjustment. A weak heart transition usually points to a missing bridging note. An overpowering top that scores low on cohesion often needs dilution or a softer opening material. Track these decisions alongside scores so you can see how fragrances evolve across iterations.
How to describe scents clearly and collect useful feedback
Vague feedback (“I like it” or “it smells nice”) cannot drive a reformulation. Structured vocabulary and specific prompts turn tester responses into data you can act on.
Descriptor families with example phrases:
- Fresh/citrus: “sharp lemon opening,” “effervescent bergamot,” “clean aldehydic brightness”
- Green/herbal: “cut-grass sharpness,” “dry sage,” “cool violet leaf”
- Floral: “powdery rose heart,” “indolic jasmine,” “airy white musk floral”
- Spicy: “warm clove bite,” “dry cardamom,” “peppery sharpness in the opening”
- Woody: “dry cedarwood base,” “smoky vetiver,” “pencil-shaving sandalwood”
- Resinous/balsamic: “sticky labdanum warmth,” “vanilla-adjacent benzoin,” “dark amber depth”
- Gourmand: “caramelised tonka,” “milky heliotrope,” “sweet praline base”
- Musks: “cottony skin musk,” “soapy clean musk,” “animalic undertone”
Phrases that describe texture and behaviour (“airy citrus top, cottony musk base”) are far more useful than single-word labels. They tell the creator where in the structure the character lives and how it moves.
Structured feedback prompts for testers:
- What changes between the first spray and 1 hour?
- Is anything harsh, chemical, or synthetic at any point?
- How far does it project at 1 hour — skin-close, arm’s length, or across a room?
- Does the dry-down match the brief you were given?
- Which note family dominates, and does that feel intentional?
Combine these qualitative responses with the numeric checklist scores to produce a one-paragraph summary per sample. That summary is the actionable output: a score, a descriptor, and a specific observation about what to change. For a deeper look at types of perfume notes and how evaporation behaviour affects what testers perceive at each stage, the note families above map directly to expected timing on skin.
Pro Tip: Give testers the brief before they smell anything. Knowing the intended mood (“fresh, light, daytime wear”) focuses their attention on whether the blend delivers that specific experience, rather than whether they personally enjoy it.
Common mistakes that make fragrance feedback useless
Most critique sessions fail before the first sample is opened. These are the errors that matter most.
- **Asking friends and family for unstructured opinions. Friends and family are usually biased and unrepresentative of a target demographic. They tend to give positive feedback to avoid conflict, and their preferences rarely match the intended audience. Use a checklist and brief instead, even with informal testers.
- Judging from the bottle or the first spray only. The opening impression is the least representative part of a blend. Top notes evaporate within 15–30 minutes; the true character of a formula lives in the heart and base.
- Olfactory fatigue from over-sniffing. Smelling the same sample repeatedly within a short window desensitises the nose. Limit each evaluation pass to one or two sniffs, then move on and return later.
- Inconsistent sample concentrations or carrier differences. If Sample A is at 15% in alcohol and Sample B is at 20% in a different carrier, any perceived difference may be purely presentational. Always standardise before comparing.
- Skipping maceration. Judging a blend immediately after mixing is unreliable. Maceration smooths dissonance and affects final cohesion; allow at least 48 hours of rest before a formal evaluation, and ideally longer for complex formulas.
Pro Tip: Always dilute raw materials before smelling them on a blotter. Neat materials are far more intense than they will be in a finished blend and will skew your perception of how a note actually contributes to the whole.
How to run blind trials with decants and practise with a scoring template
Blind practice is how you build a calibrated nose. Running repeated blind sessions with decants removes the label bias that distorts most informal critiques and trains you to evaluate what is actually in the vial, not what you expect to be there.
What to include in a blind trial kit:
- Five to ten coded vials or decants (2ml or 5ml sizes work well)
- A scoring sheet with columns for each criterion and time point
- A brief template (one paragraph defining the target mood and audience)
- An unscented neutraliser (your own wrist skin or neutral air)
- A stopwatch or timer
Suggested scoring sheet layout:
| Sample code | Criterion | 0 min | 15 min | 1 h | 3 h | 6 h |
|---|---|---|---|---|---|---|
| A | Cohesion (1–5) | |||||
| A | Longevity (1–5) | |||||
| A | Sillage (1–5) | |||||
| A | Brief match (1–5) | |||||
| A | Off-notes (1–5) |
Run the session blind: have someone else code the vials, or code them yourself and wait 24 hours before testing so the labels are no longer fresh in your memory. After scoring, reveal the codes and compare your results against your own previous sessions. Consistency across sessions is the measure of a calibrated nose.
Repeated blind practice with decants also reduces personal preference bias. When you do not know which fragrance you are smelling, you score what you perceive rather than what you expect. Over time, your scores become more stable and your descriptors more precise. This is the same principle professional sensory panels use, scaled down for individual practice.
A note on maceration: Maceration periods of weeks or months are standard practice in professional perfumery. For hobbyists, even 48–72 hours of rest after blending produces a noticeably more integrated result. Never run a final evaluation on a freshly mixed formula. Your guide to blind fragrance trials covers the full process in detail if you want a stepwise reference for your first formal session.
Key takeaways
A reliable fragrance critique requires a written brief, coded blind samples, time-stamped observations across at least three checkpoints, and repeated practice to build a consistent, calibrated nose.
| Point | Details |
|---|---|
| Start with a written brief | Define audience, mood, and use case before opening any sample; scores are meaningless without a goal. |
| Use coded, blind samples | Remove label bias by coding vials with numbers; consistent dilution and carrier are non-negotiable. |
| Record time-stamped scores | Observe at 0, 15 min, 1 h, 3 h, and 6 h; structural faults only appear across the full dry-down. |
| Combine numbers with descriptors | Numeric scores track progress; descriptor phrases (e.g. “cottony musk base”) make feedback actionable. |
| Practise with Theperfumesampler decants | Small 2ml–10ml decants let you run repeatable blind sessions without the cost of full bottles. |
The skill of evaluation takes longer to build than the skill of blending
Most hobbyists spend months learning to blend and very little time learning to evaluate. That imbalance is where most formulas stall. A blend can be technically correct on paper and still fail a sensory panel because the creator never developed the vocabulary or the patience to track it properly across a full dry-down.
Evaluation is a separate discipline. It requires training your nose to distinguish between what you expect and what is actually there, which is precisely why blind practice matters so much. The first few sessions will feel uncertain. Scores will be inconsistent. Descriptors will be vague. That is normal and expected.
The practical fix is simple: run one blind session per week for three months using a consistent scoring sheet and a small set of reference decants. By the end of that period, your scores will stabilise and your descriptors will become specific enough to drive real reformulation decisions. Patience with maceration is part of the same discipline. Judging a formula at 24 hours versus at two weeks produces genuinely different results, and the two-week version is almost always the honest one.
The other underestimated factor is the brief. Experienced perfumers treat the brief as the single most important document in the process. Without it, every score is subjective. With it, even a novice tester can produce feedback that is specific, consistent, and useful.
Practise your critique skills with Theperfumesampler decants
Theperfumesampler offers a practical, low-cost way to build a blind trial kit from real niche and designer fragrances. Rather than committing to a full bottle before you know how a scent performs across a full dry-down, you can work with 2ml, 5ml, or 10ml decants and run structured critique sessions at a fraction of the cost.
A simple practice plan: select five decants across different fragrance families, code the vials, write a brief for each, and run weekly blind sessions over a month. By the end, you will have a calibrated scoring baseline and a clear sense of which note families you evaluate most reliably. All decants from Theperfumesampler are 100% authentic, so the formulas you practise with are the real thing. When a blend earns a consistent high score across your sessions, the full bottle range is there when you are ready. Find out more about why decants work for this kind of structured practice.
Useful sources and further reading
These references back the methods in this guide and are worth consulting if you plan to run formal panels or deepen your sensory training.
- Evaluating your fragrances: how to judge your scent — The Perfume Making Podcast (Karen Gilbert)
- Discrimination testing in flavors and fragrances: a practical view
- Measurement of fragrance perception — Journal article (sensory analysis review)
- Fragnatique community: evaluating first-scent lab formula
- How to create your own perfume brief to blend — Whatscent
- Must-know guide to perfume notes and accords — Perfume On Skin
- Analytical strategy and the role of sensory panels — ETH Zurich lecture notes (Gygax)
- How to test fragrance oils (tips from a pro perfumer) — Nicandle Supplies
- Fragrance oil blending 101 — CandleScience
“Sensory panels remain central to product development and performance assessment in perfumery. Analytical instrumentation supports but does not replace the trained human nose.” — ETH Zurich lecture notes (Gygax), Analytical Strategy 2020.
For further reading on fragrance families and how to build a personal scoring database, the Jeffi fragrance category is a useful reference for exploring a broad range of scent profiles across different product types.